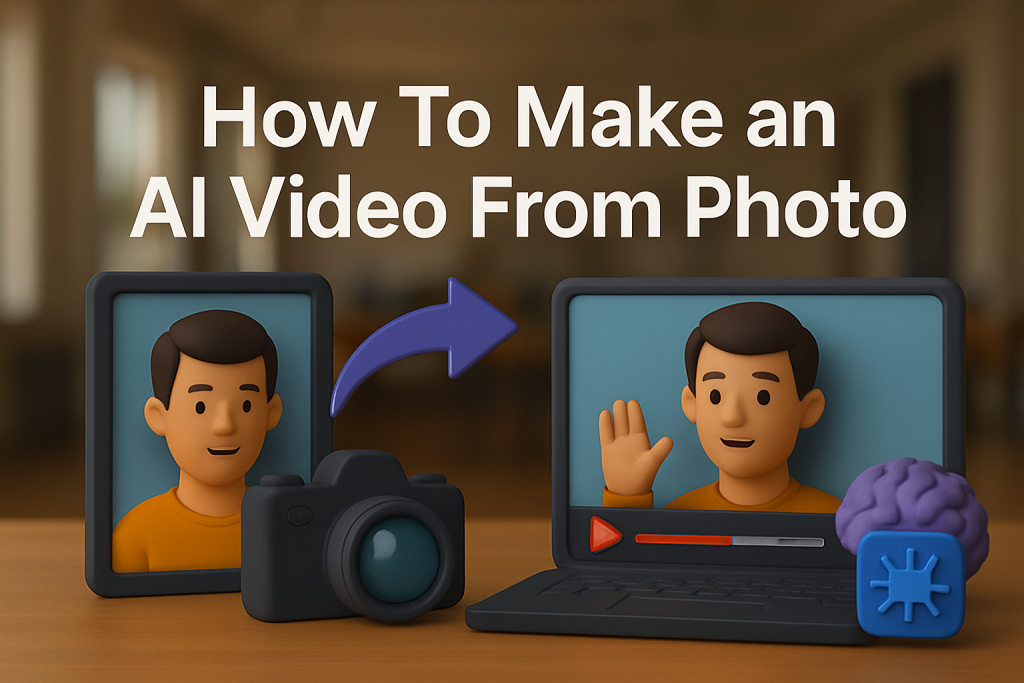
Creating a professional-looking video from a single photo used to require expensive software and hours of editing. Not anymore. With AI tools, you can now transform a static image into a dynamic, animated video in just minutes — no video editing skills required!

Here’s a simple, step-by-step guide on how to make an AI video from a photo, and the best tools you can use to get it done fast.
(This post contains affiliate links. If you use these links to buy something, we may earn a commission at no extra cost to you.)
Why Make Videos From Photos?
- 📸 Bring still images to life
- ✨ Create engaging social media content
- 📈 Increase views and interaction
- 💬 Tell a story visually with minimal resources
- 👥 Reach audiences on TikTok, Instagram, YouTube
Whether you’re a creator, brand, or freelancer, AI photo-to-video tools unlock a new layer of creativity.
The Best Tools for Turning Photos into AI Videos
Here is a list of the Top 3 tools to help you do the job:
1. Creatify
Creatify lets you upload a photo and generate an animated video ad in minutes.
- Animates products and portraits
- Perfect for e-commerce and social media ads
- Add voiceovers, captions, and transitions automatically
2. Pictory
Pictory can turn text or static images into dynamic video stories.
- Upload photos and scripts
- Add AI voiceovers and subtitles
- Great for Instagram Stories, TikToks, and YouTube Shorts
3. MakeUGC
MakeUGC lets you input a product photo and automatically create scroll-stopping short videos.
- Templates optimized for Reels, Shorts, and Ads
- Built-in AI storyboarding and captions
How to Turn a Photo into a Video: A Step-by-Step Guide
Follow this simple step-by-step guide to get started.
Step 1: Choose Your Tool
Pick a platform that fits your creative goal. Some are better for animated avatars, while others excel at cinematic effects or social media slideshows. Check the suggestions we’ve provided above.
Step 2: Upload Your Photo
Choose the image you want to turn into a video. Make sure it’s high-resolution, well-lit, and ideally focused on a clear subject (like a person, product, or scene).
💡 Tip: Portrait photos work best for avatar videos, while landscape images are great for slideshows and motion effects.
Step 3: Select an Animation Style
Choose panning, zooming, movement effects, or avatar animations. Depending on the tool, you can choose from:
Avatar Animation – Turn a face into a talking character with lip sync
Panning or Zooming – Adds camera-like movement to your photo
Movement Effects – Simulate flowing hair, clouds, water, etc.
Step 4: Add Music or Voiceover (Optional)
To enhance your video, you can:
- Upload background music
- Record or generate an AI voiceover
- Sync the audio with transitions or animations
This step adds emotion, clarity, and personality to your video.
If you want to generate professional audio we suggest you try out Eleven Labs.
Step 5: Insert Captions or Subtitles
Use tools like Submagic to:
- Automatically generate captions from voice/audio
- Highlight key words in sync with music or speech
- Increase engagement for social platforms (especially when muted)
🔠 Captions are key on platforms like TikTok, Instagram, and YouTube Shorts where sound is often off by default.
Step 6: Preview and Edit
Before exporting:
- Adjust timing between transitions
- Tweak animation speed
- Customize fonts, colors, and overlays
- Make sure captions align with speech or music
Most tools let you drag-and-drop elements for quick adjustments.
Step 7: Download and Share
Once satisfied, export your video in the right format (MP4 is standard) and resolution (1080p or higher for social).
Tips for Better Photo-to-Video Results
To make your photo-to-video creations stand out, keep these best practices in mind:
- Use High-Resolution Photos
Blurry or pixelated images reduce the final video quality—always start with crisp, well-lit photos. - Add Captions and Animated Text
Text overlays keep viewers engaged, especially when videos are watched without sound. - Pick Music That Matches the Vibe
Choose music that fits the tone of your message—energetic for promos, calm for stories, etc. - Optimize Your Video Format
- Use 9:16 for TikTok, Instagram Reels, and YouTube Shorts
- Use 1:1 for Instagram Feed posts
- Use 16:9 for YouTube or websites
- Always Include a Call-to-Action (CTA)
End your video with a clear CTA like “Visit our site,” “Follow for more,” or “Shop now” to drive action.
Final Thoughts
AI-powered tools make it ridiculously easy to turn a single photo into a lively, engaging video that can boost your content strategy instantly. Whether you’re growing your social media, selling products, or building a personal brand, learning to animate your images is a must.
Keep Reading: How To Create Viral Videos with AI Captions in Just a Few Minutes